Managing your Comet Account Portal
This guide explains what you need to know about managing your Comet Account Portal. The Comet Account Portal is the interface for managing your Comet Storage, creating a Comet-Hosted Management Console, initiating a Self-Hosted Management Console or Storage Gateway, track billing and fees, setting up payments, raising a support ticket, etc.

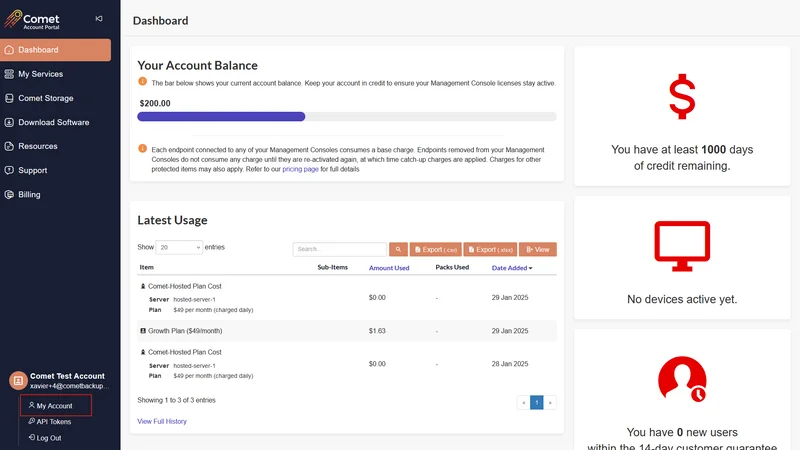
- ‘Dashboard’ provides a high-level overview of your Comet account
- ‘My Services’ shows the list of your Self-Hosted and/or Comet-Hosted service(s).
- ‘Comet Storage’ shows the details of your Comet Storage usage (if using). For more details on Comet Storage, check out our Comet Storage guide.
- ‘Download Software’ provides you the option to download self-hosted server licenses. The client software is available in your Comet Management Console.
- ‘Resources’ contains documentation, release notes, past webinars, etc.
- ‘Support’ allows you to create new support tickets for technical assistance and follow up with any tickets.
- ‘Billing’ allows you to manage your plan, update credit card details, view usage history, etc.
- ‘My Account’ allows you to update your account details, set up multi-factor authentication, etc.
- ‘API Tokens’ allows you to manage your API.
How to reset my Comet Account Portal password
There are three ways you can reset your Comet Account Portal password:
- Change your password in Comet Account Portal
- Change your password via email
- Use recovery passphrase
Change your password in your Comet Account Portal
-
In your Comet Account Portal, head to “My Account”.
-
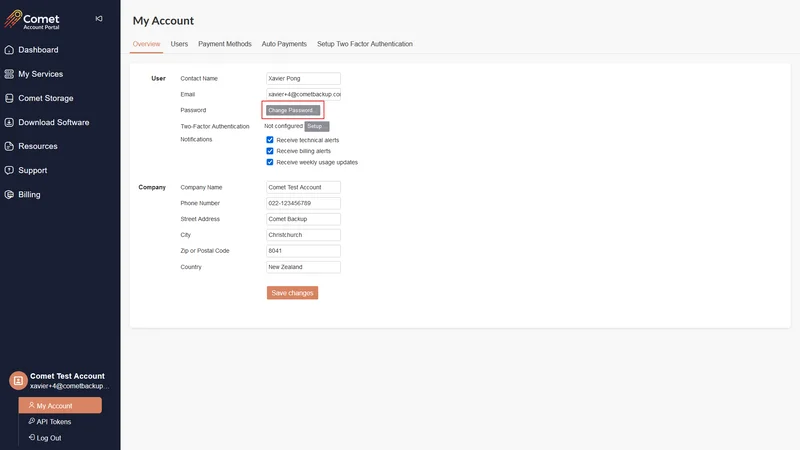
Click on “Change Password”.
-
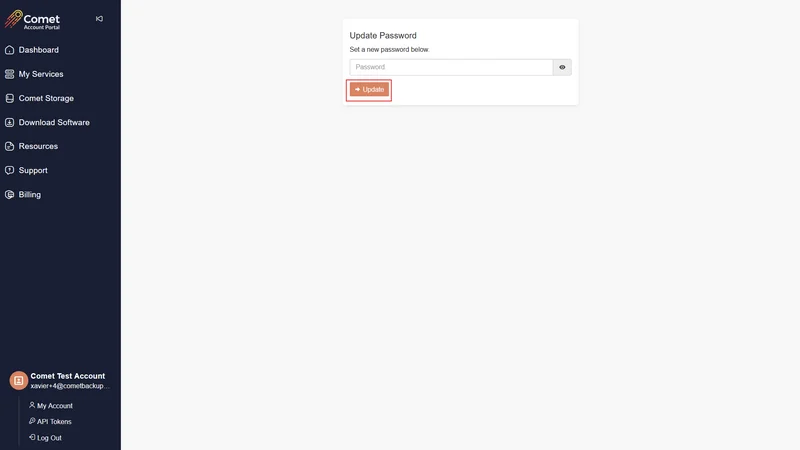
Enter your new password and select “Update”.


Change your password via email
-
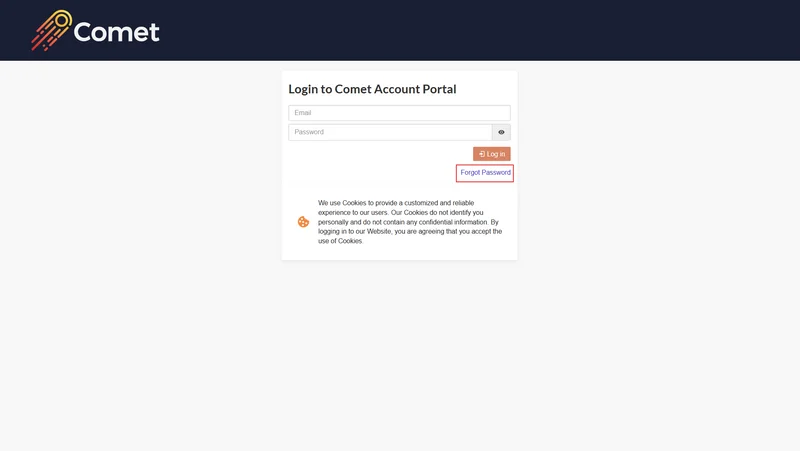
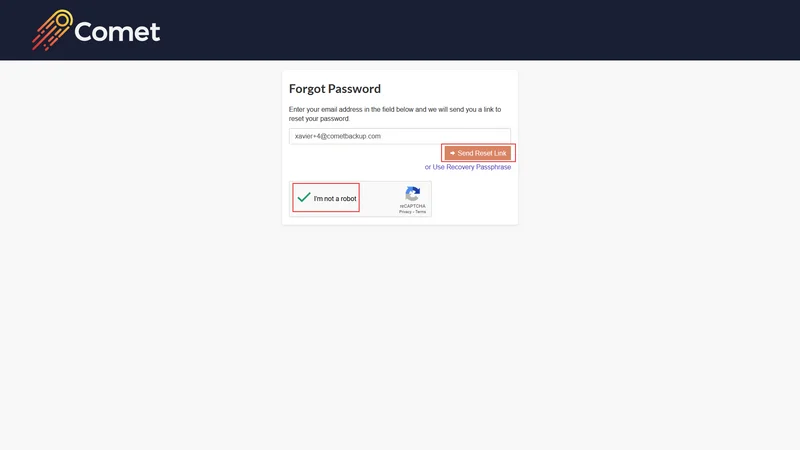
Click on “Forgot Password”.
-
Enter the email address you use for your Comet account. Tick on “I’m not a robot” and proceed with the CAPTCHA verification, then “Send Reset Link” to continue with the reset.
-
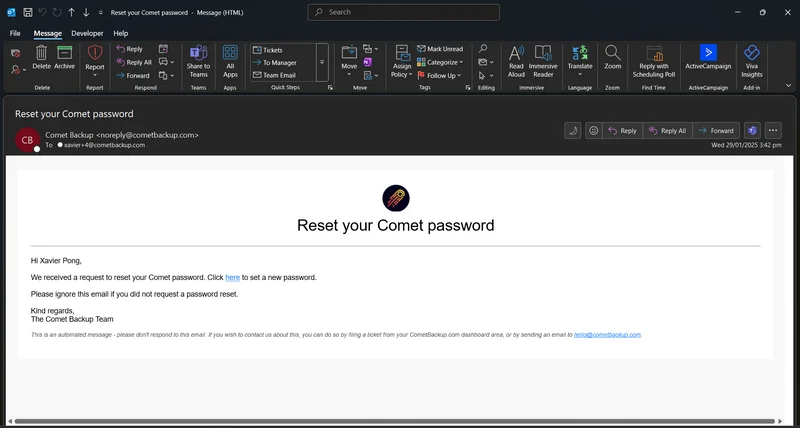
In your email application, open and click the link from the email you received from noreply@cometbackup.com to update your password.
-
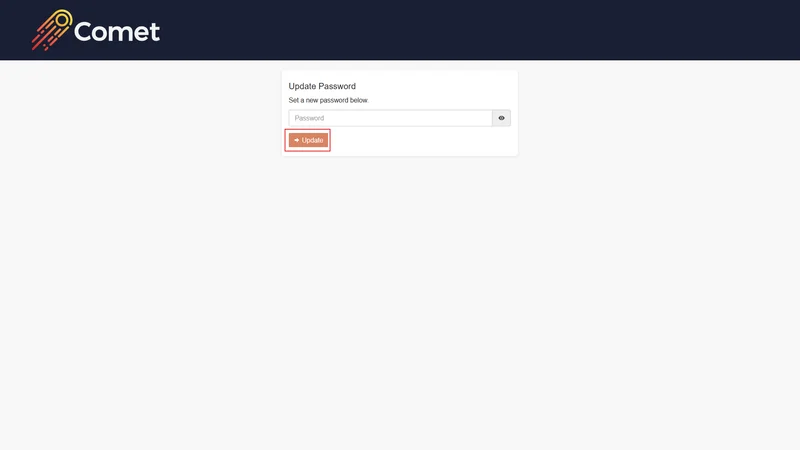
Enter your new password and click on “Update”.


Use recovery passphrase
This is only available if you have a passphrase saved externally.
-
Click on “Forgot Password”.
-
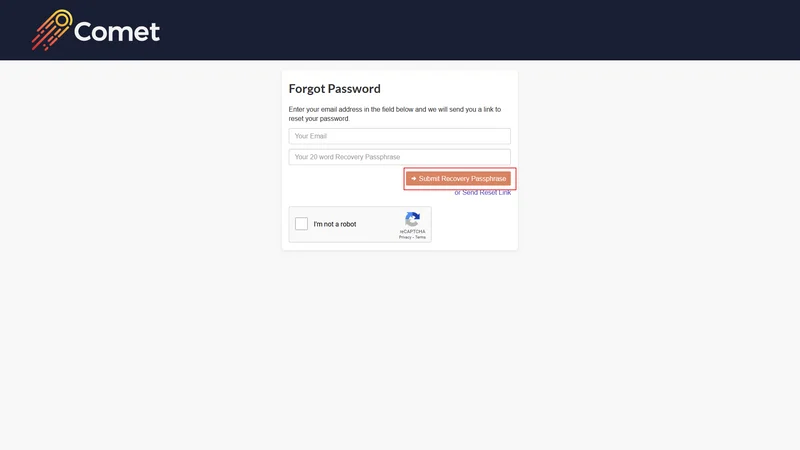
Select “or Use Recovery Passphrase”.

-
Enter your email and the passphrase, then click on “Submit Recovery Passphrase”.
-
The used passphrase is no longer valid. Download/copy the new passphrase shown on the screen.
-
If you wish to update your password, refer to these steps to update your password.


How to manage Comet Account Portal users
Only the primary Comet account Portal user (whose email address is used to sign up for Comet) can add new users and remove existing users. Please use a valid email address as this will be the primary way of communication from Comet, in regard to your Comet account.
Add new user for Comet Account Portal access
Adding new users ensuring each Comet Account Portal user has their own access, without the need for password sharing.
-
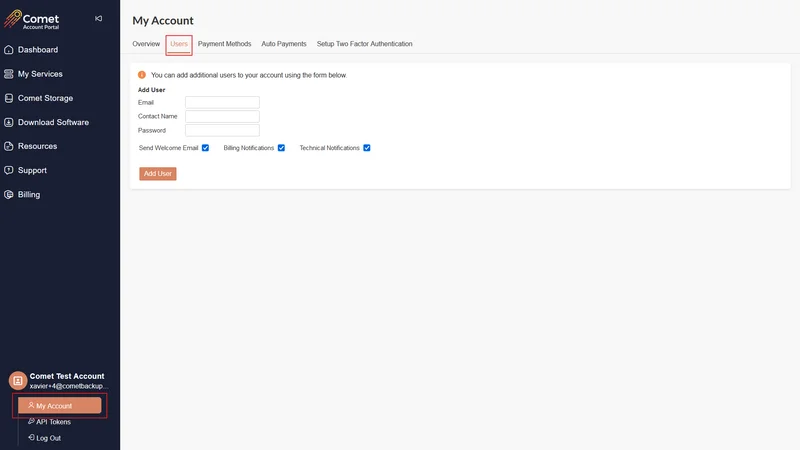
In your Comet Account Portal, head to “My Account”, and select “Users”.
-
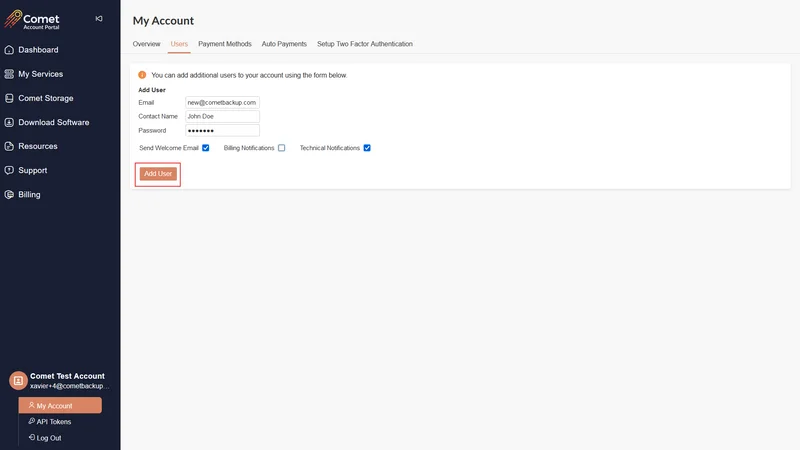
Under the “Add User” section, enter the details of the new user, and untick the irrelevant selection (optional). There are options to limit the notification type a user will receive, either billing or technical notifications.
-
Click on “Add User” to add a new user.


Remove existing Comet Account Portal user
Revoke access to users who are no longer managing your Comet account.
-
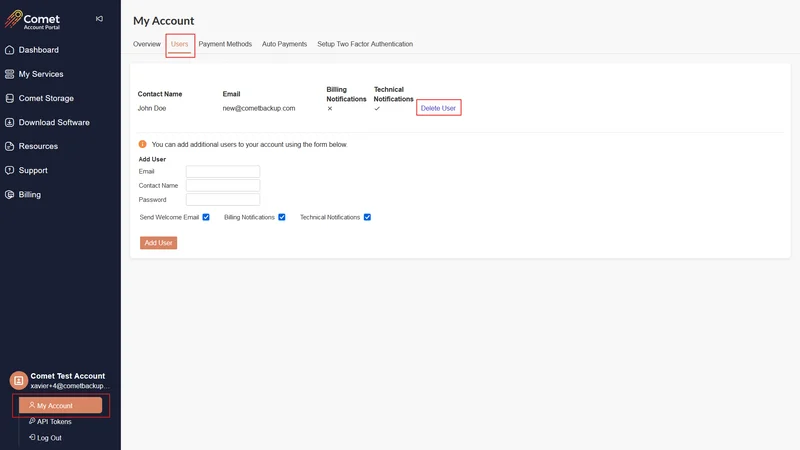
In your Comet Account Portal, head to “My Account”, and select “Users”.
-
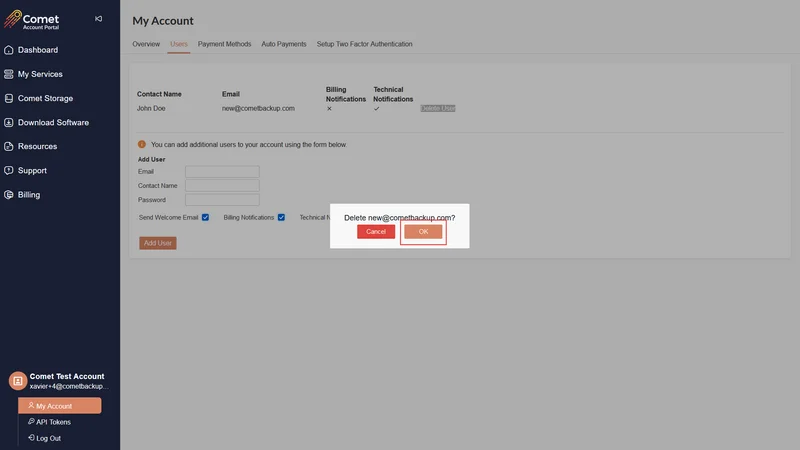
Identify the user to be removed, and click on “Delete User”.
-
Click on “Ok” to complete the selection.


How to manage Multi-Factor Authentication (MFA)
Please refer to this guide which explains MFA in depth.
How to update your primary Comet Account Portal email address
Please reach out to hello@cometbackup.com to update your primary email address.
How to delete your Comet account
Should you wish to close out your Comet account, please reach out to hello@cometbackup.com or raise a support ticket to notify us. Please allow up to 2 working days to process your account closure request.
Remove your credit card to prevent auto-payment from further topping up your account before your account closure request is processed.

Please note that we are unable to reactivate permanently deleted accounts. Once an account is permanently deleted, all licenses are also deleted and will be irretrievable.